Map Product Data from Shopify
Learn how to use data mappers and loops.
Introduction
In this guide, we are going to build a flow that showcases the data mapping capabilities of the fastn platform.
Prerequisites
- A Shopify account is required with a store setup and some products added as we are going to retrieve products for export.
Part I - Getting Data from Shopify
Activate the Shopify connector
-
As a first step, we need to activate the Shopify connector so that it can be authenticated and linked to the store from where we want to fetch our products.
-
To activate the connector go to the
Connectorspage from the navigation menu on the left. -
Go to fastn connectors and find the Shopify connector.

- Click on the
Activatebutton and fill in the parameters for the store name.
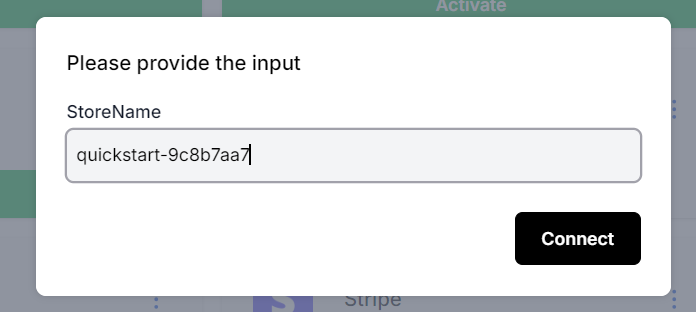
- To get the store name, go to your Shopify store and copy the store name from the URL like shown below.

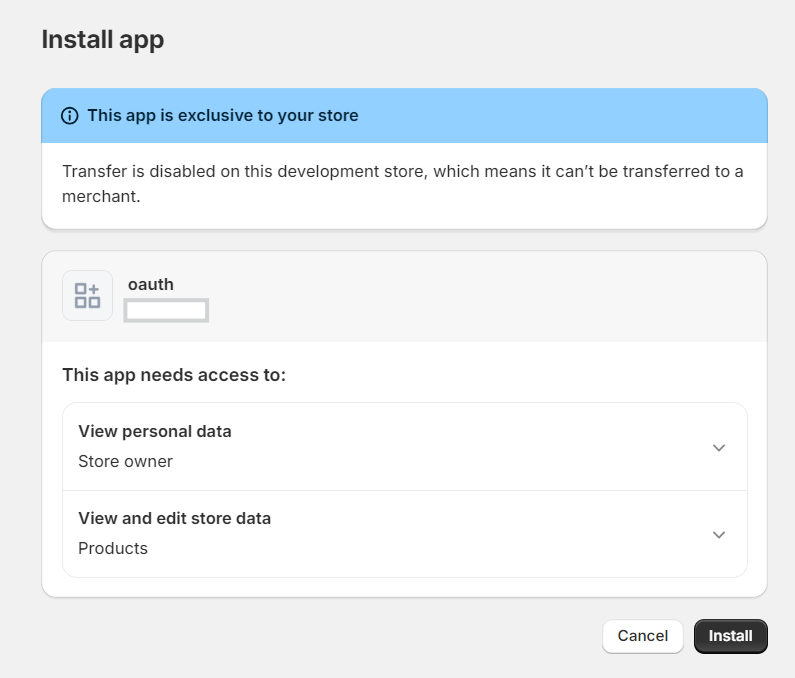
- The authentication will then redirect and ask for permissions. Click on
Install.
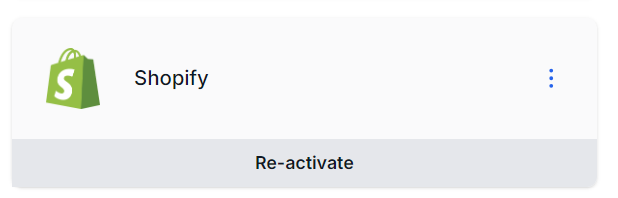
- After activation the connector status will update.
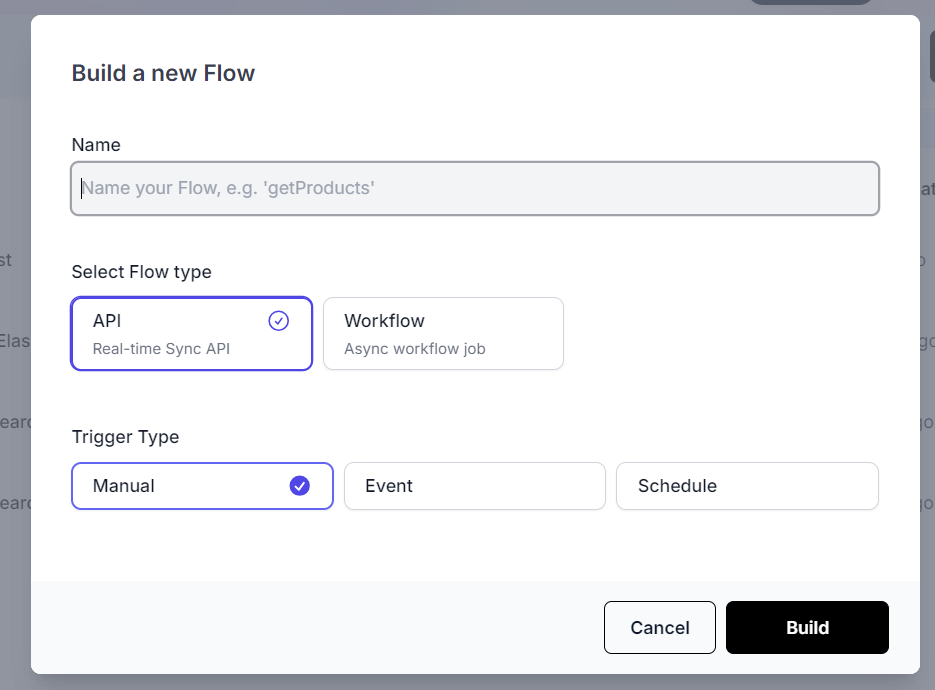
Create a new flow
- To start off, go to the
Flowspage from the left side menu, and add a new flow.
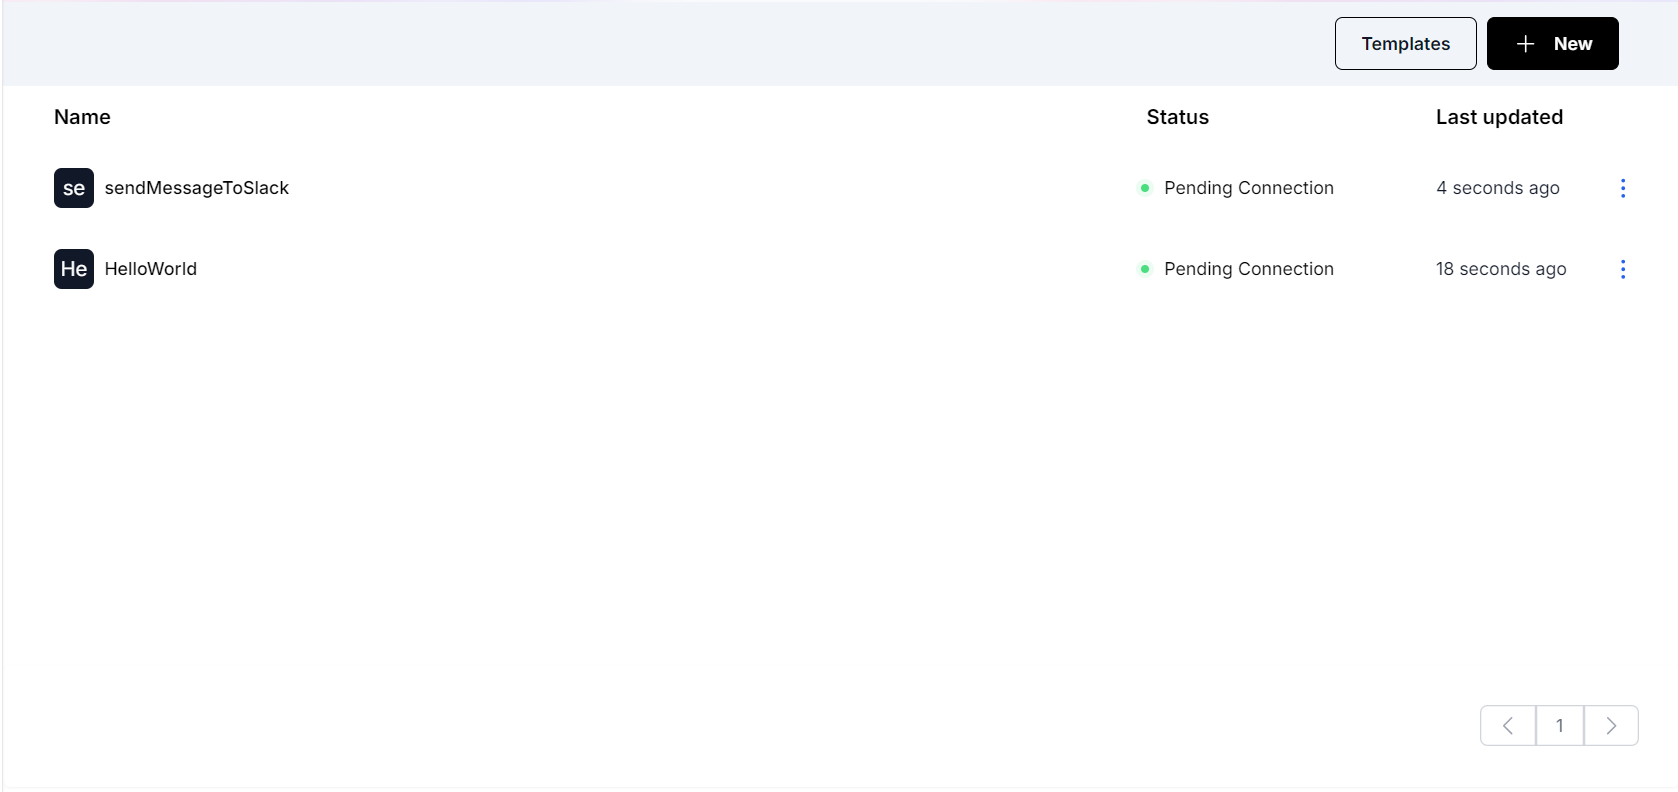
- Give your flow a name and create it as an API.
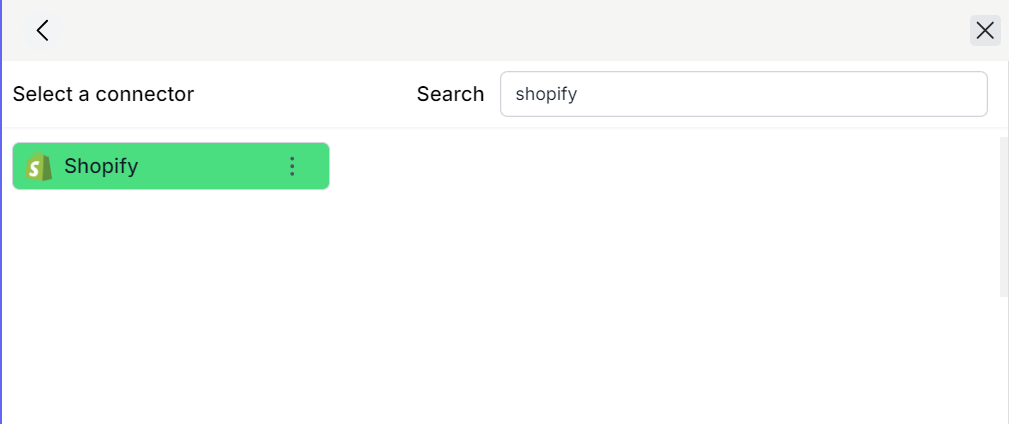
Get products from Shopify
- Drag and drop a connector element. Choose fastn connectors and find Shopify.
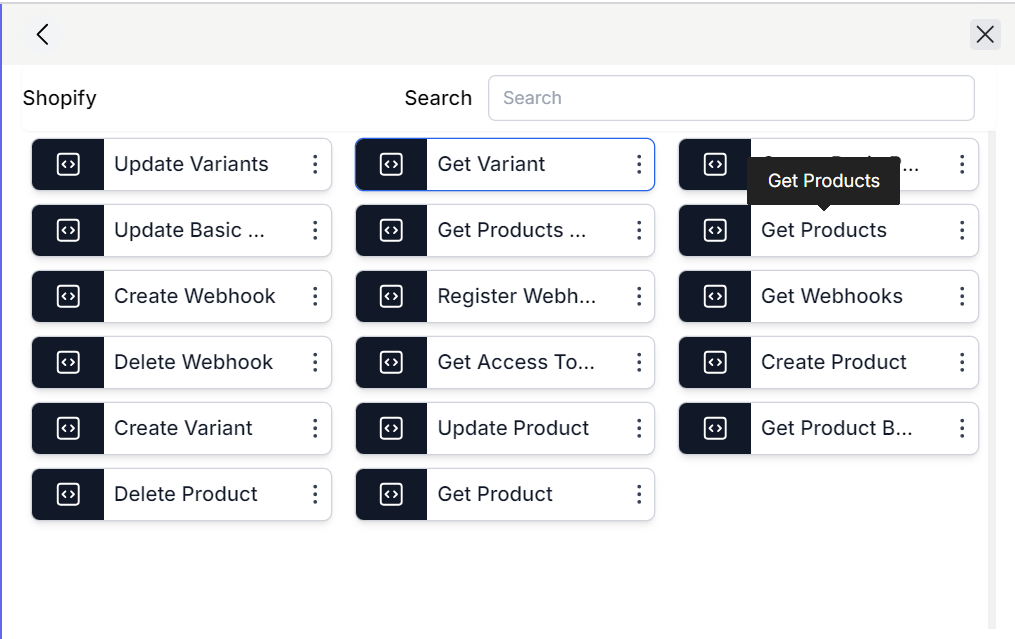
- Choose the
Get ProductsAPI.
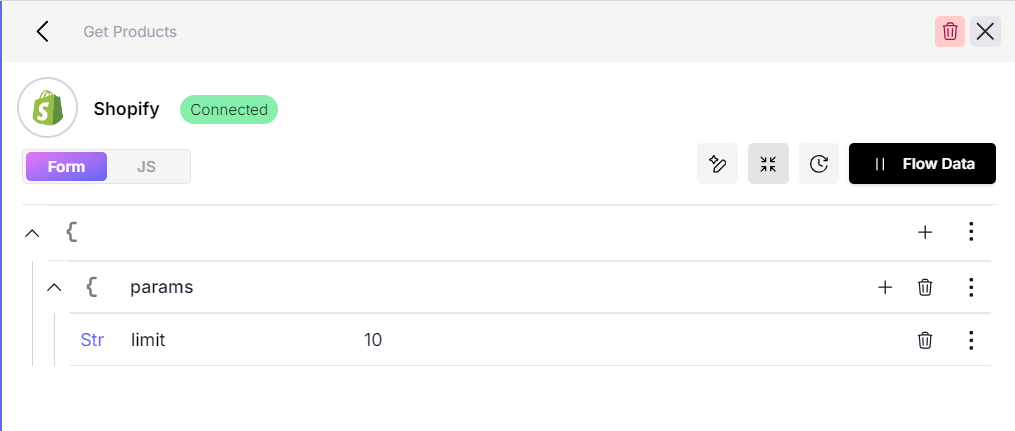
-
Once the connector configuration opens up. Click on the
Disconnectedlabel next to the icon and select theDefaultoption. -
Click on
Connectand the connector status will be updated toConnected. -
Setup the connector parameters as in the image below. In this example we set the limit to 10 but it can be set to suitable alternate values or can be set through the flow input.
Part II - Mapping Product Data
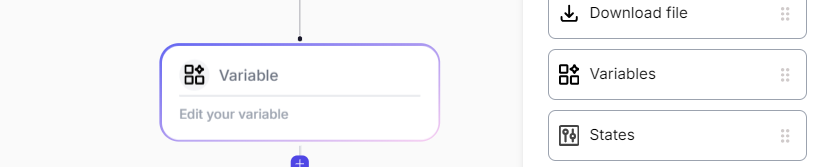
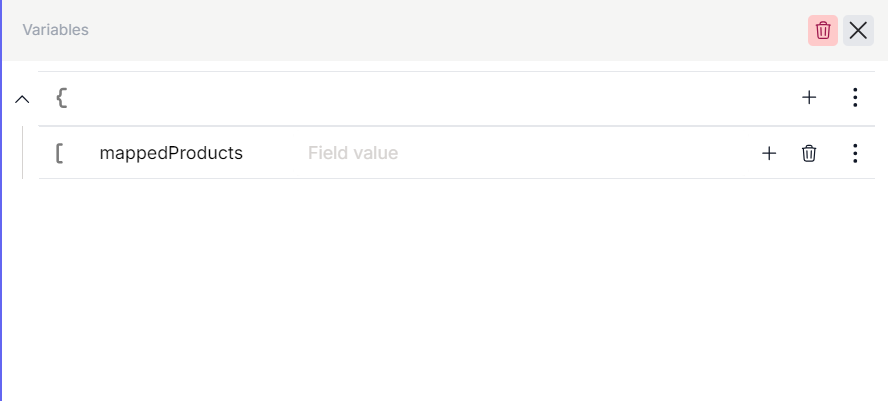
- Drag and drop a
Variablestep. Add a new field as a list and name itmappedProducts. This variable is going to store the results of the data mapping process.
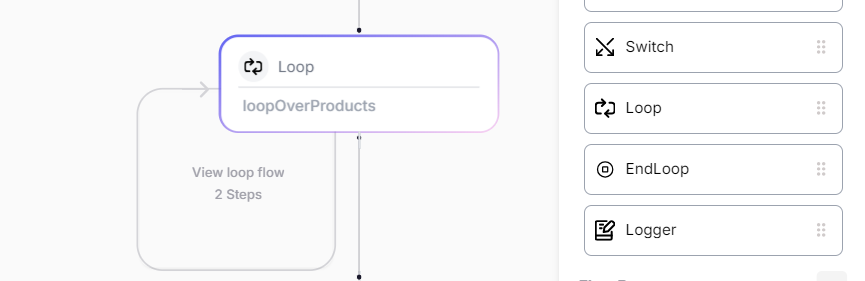
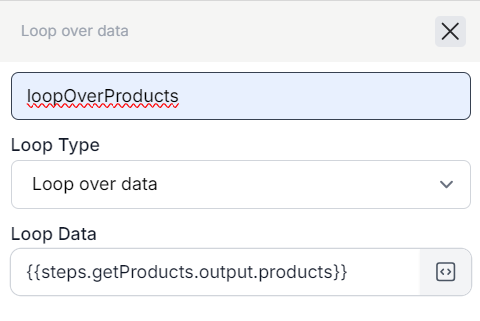
- Add a
Loopstep and set theLoop TypeasLoop Over DataandLoop Dataas{{steps.getProducts.output.products}}. This loop will iterate over each product in the output of thegetProductsAPI.
-
Navigate inside the loop by clicking on
View Loop Flow. -
Drag and drop a
Data Mapperelement and name it asmapProduct.

- For the purposes of this example we are going to add four fields in the data mapper namely
id,title, andstatus.
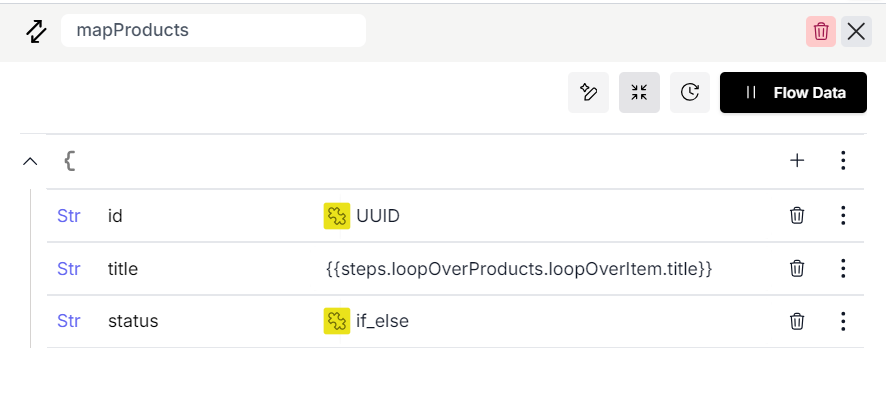
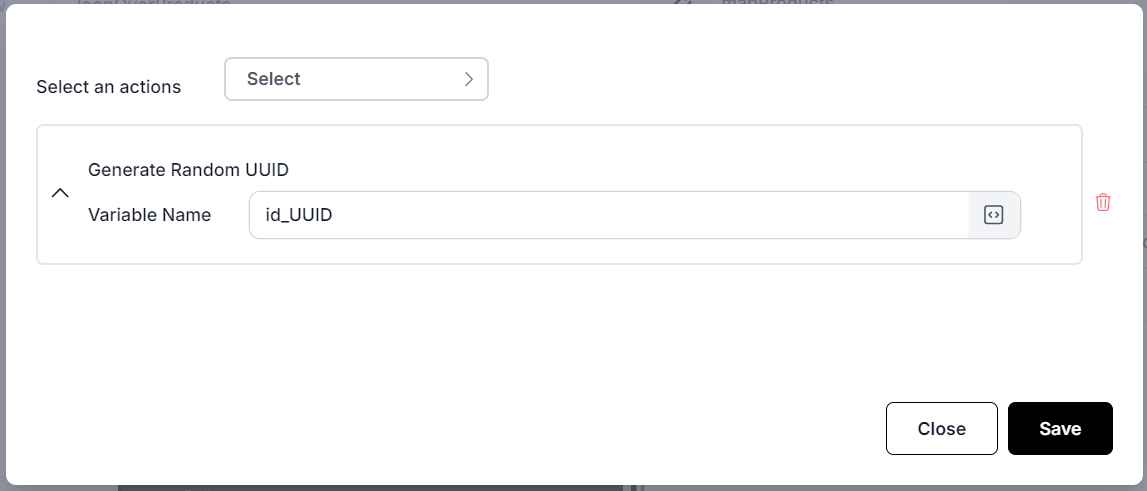
- The
idfield will be used to store a new unique id for each product. To do that, we will configure it as a random UUID. Click on the three dots to view additional options and selectAdvanced Actions. Select theUUIDaction and clickSave.
-
The
titlefield will hold the title of the product. So we will assign it{{steps.loopOverProducts.loopOverItem.title}}as the value. -
In each loop, the
loopOverItemrepresents the object being looped over and can be used to access its properties like we did above. -
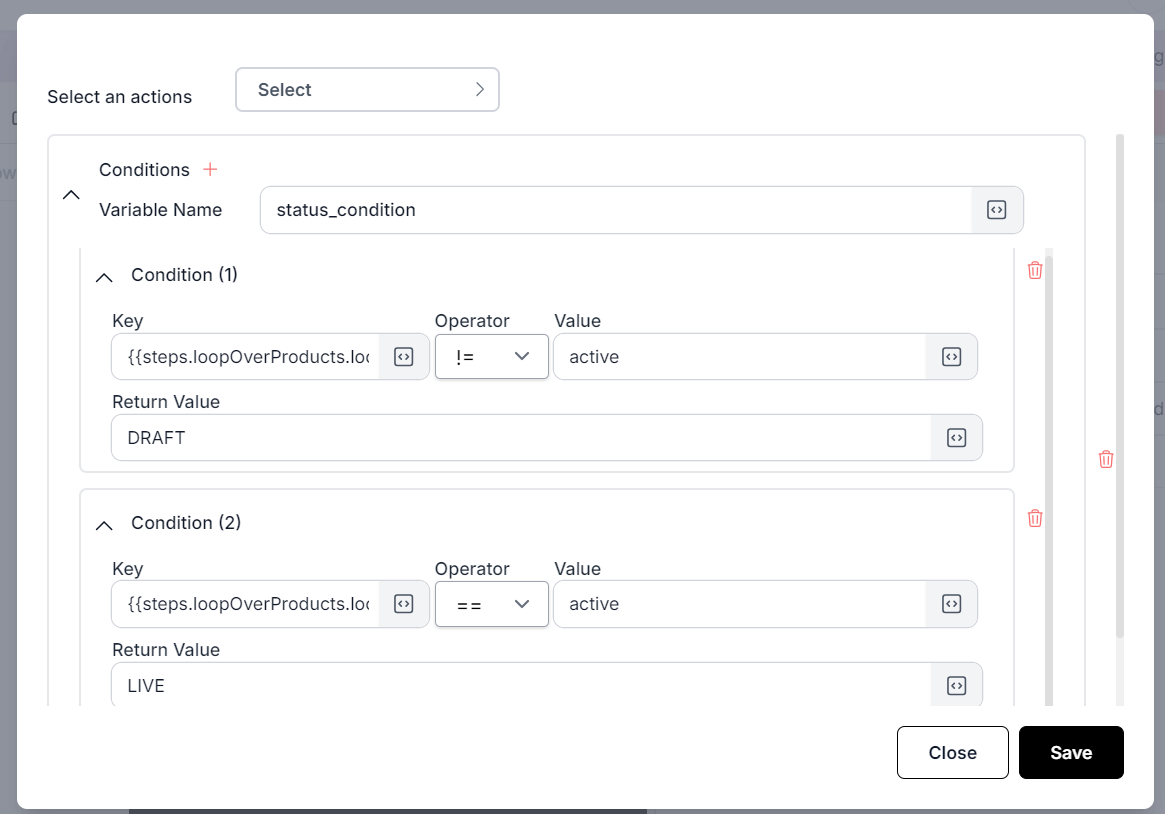
The
statusfield will be used to record a custom status based on a condition. We will configure a condition that checks if thestatusof the product isactivewe will map it to the valueLIVEand in all other cases we will map thestatusto the valueDRAFT.
-
Click on the three dots and select
Advanced Actions. Select theConditionaction and add a new condition to check if{{steps.loopOverProducts.loopOverItem.status}}is==toactive. Return value should beLIVE. -
Use the
+button next toConditionto add a second condition and set it up to check if{{steps.loopOverProducts.loopOverItem.status}}is!=toactive. Return value should be set toDRAFTand save. -
Save the data mapper and add a
Variablestep after it. Add a new field as a list and name itmappedProducts. We will setup this step to insert the mapped data into themappedProductsvariable we defined outside the loop.
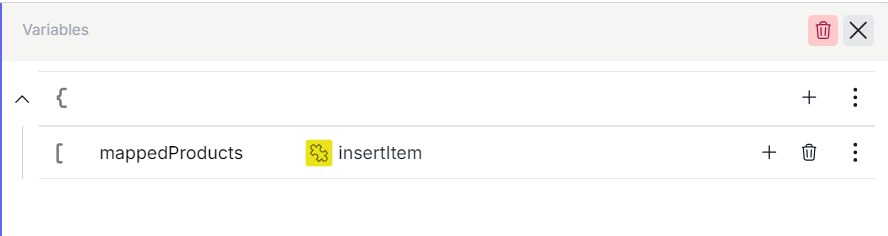
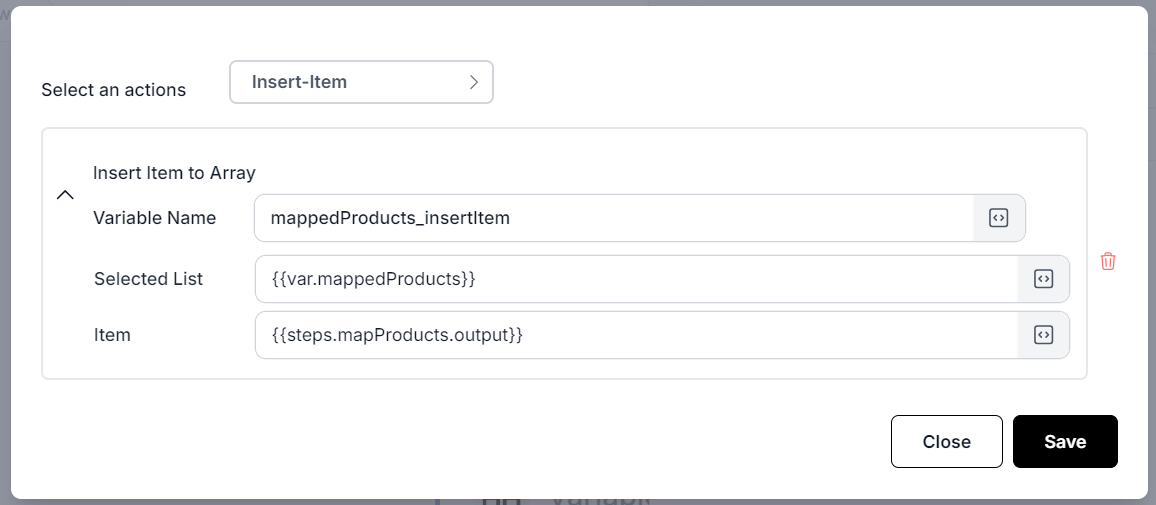
- Click on the three dots and select
Advanced Actions. Select theInsert-Itemaction and set it up to select the{{var.mappedProducts}}as a list and add{{steps.mapProducts.output}}which holds the mapped product as an item on each iteration of the loop.
-
Save the step and exit the loop.
-
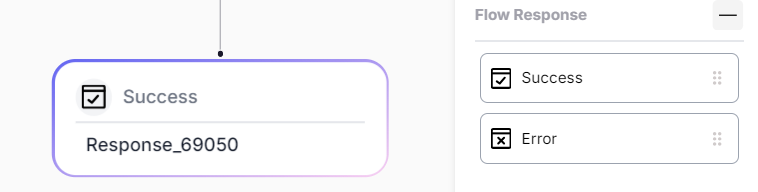
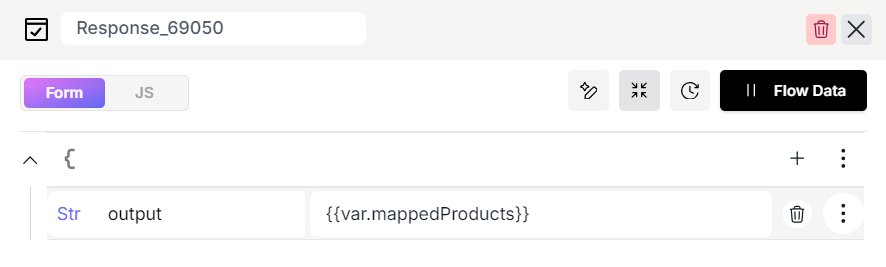
Finally, we are going to add a
Successelement and output the mapped products using the variable{{var.mappedProducts}}.
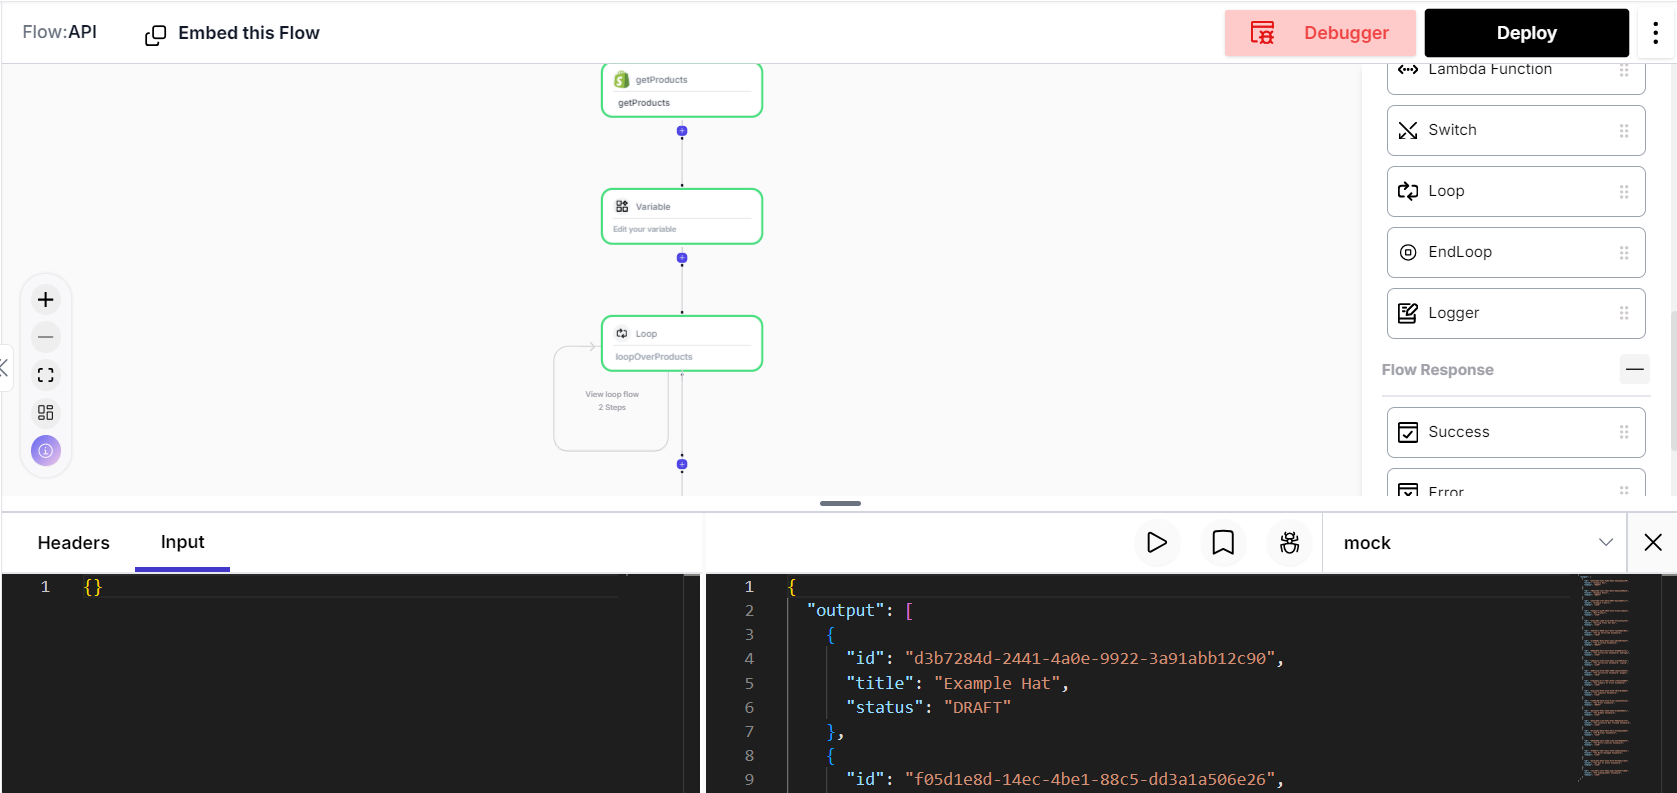
- We can use the
Debuggerto test the complete flow by clicking on the button on the top right and then clicking the play button to run the test. The output will represent the mapped products.
Congrats on following this guide to the end!