Webhooks
Overview
Webhooks in the fastn platform are used for event-based triggers for flows.
These are typically used with Workflows for asynchronous jobs.
Registering a New Webhook
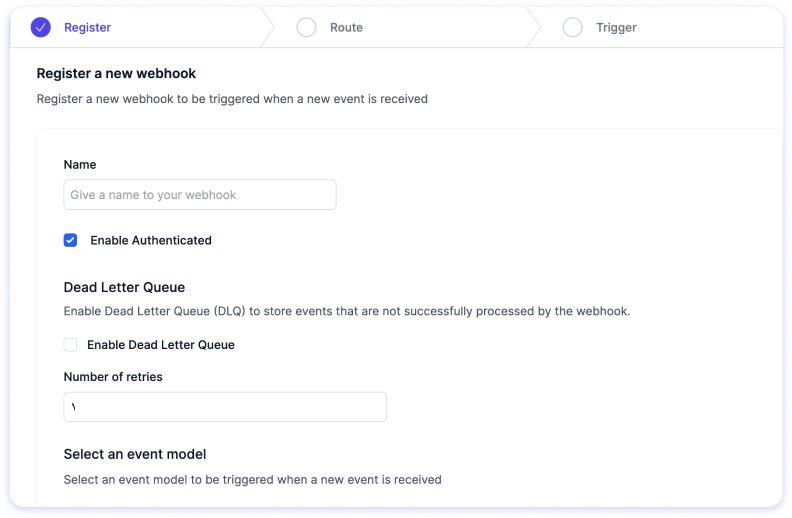
From the left side menu navigate to the Webhhok page and then click on Add Webhook.
-
Enter a descriptive name for your webhook
-
Dead Letter Queue : Enable the dead letter queue settings if necessary. Dead letter queues store messages that cannot be delivered, providing a safety net for your webhook.
-
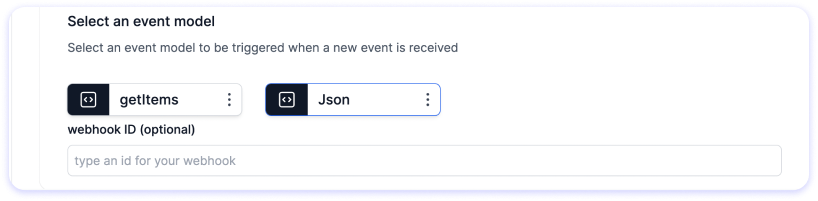
Select an Event Model : These models can be selected to apply to incoming input events.
-
Webhook ID : If desired, enter a unique identifier as the webhook ID. This step is optional and can be used for additional customization or tracking purposes.
-
Register : Finally, click on button to complete the webhook registration process.
Routes
Routes give users a webhook url which can be tied to a route. A configured route will run its assigned flow every time the webhook url is triggered externally.
After registering your webhook, configure routes to specify how the incoming data should be processed.
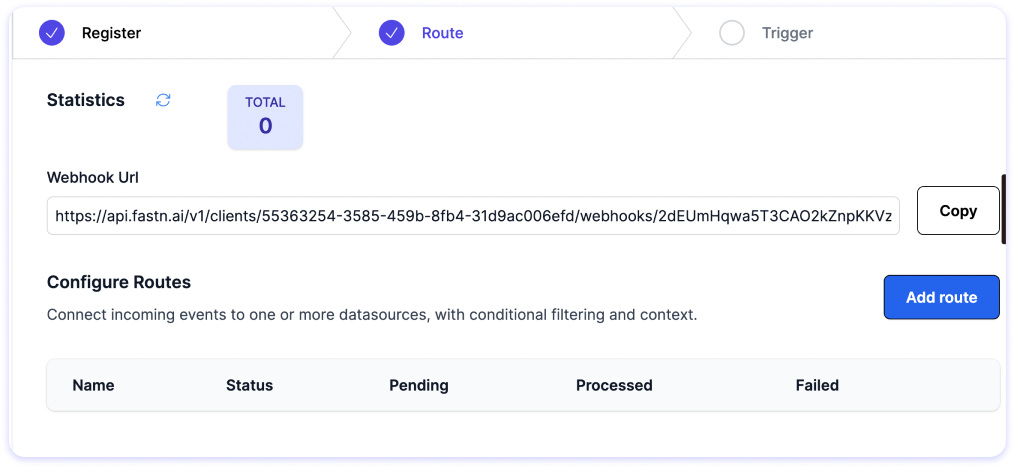
To add a route, click on "Add Route".
-
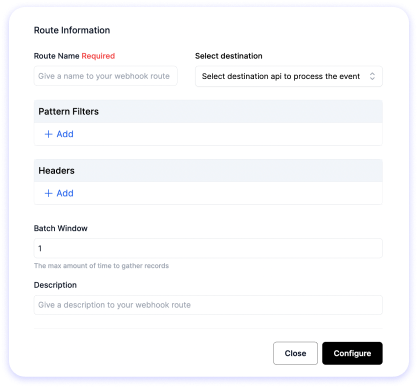
Provide a name for the route to identify it later
-
Select the destination API where you want to add the route .
-
Add Pattern Filters : Pattern filters are criteria or conditions applied to incoming data to selectively process or route specific events based on defined patterns.
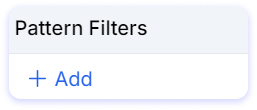
To add Pattern Filters, follow the steps below:
- Click on the
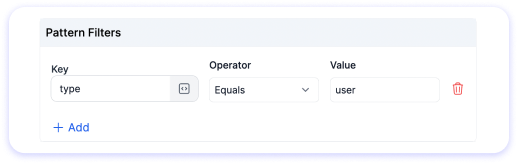
Pattern Filterssection. - Add the key that you want,for example
type. - Choose the operator that you want, for
example
Equals. - Add the value that you want, for example,
user.
- Add Headers : After defining the criteria for processing
data using patterns and filters, you have the
option to further customize the outgoing
HTTPrequest by adding headers. Headers provide additional instructions and details to the destination where the webhook payload is sent.
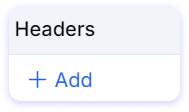
To add Headers, follow the steps below:
- Click on
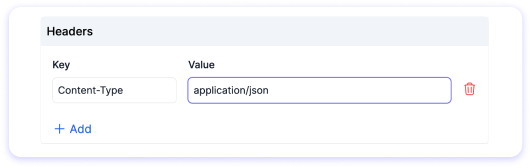
Addin Headers section. - Add the key that you want, for
example ,
Content-Type. - Add the value that you want, for
example,
application/json - Add the value that you want, for
example,
user
-
Batch Window: Use this to define the size of a batch to be processed
-
Add Description : Once you have added headers for your webhook route, it's beneficial to add descriptions to provide additional context and understanding of the specific route.
Enter a brief and informative description that highlights the purpose or functionality of this particular route.
-
Click on
Configureto save your route settings, and then click onNext.
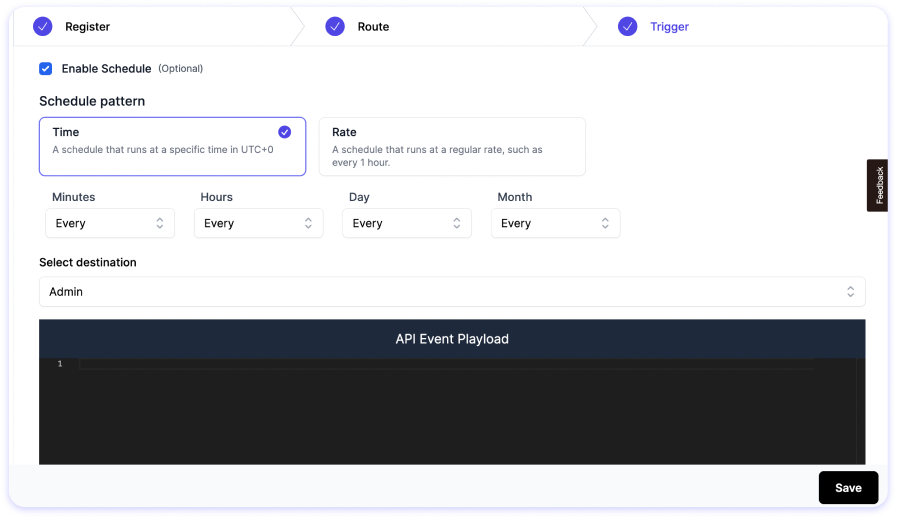
Triggers
After registering and configuring routes for your webhook on fastn.ai, you have the option to set up triggers for your webhook.
Triggers can be configured for auto-triggering the webhook and its configured workflow based on a schedule.
Follow these steps to set up the trigger for your webhook:
-
Click on the "Enable Schedule" toggle to activate the scheduling feature .
-
Choose between two scheduling options:
TimeorRatedepending on your requirements. -
Choose the destination
API: where the webhook payload will be sent. -
Click on the
Savebutton : to confirm your trigger.