Connecting an MCP client to fastn
In this guide we are going to take a look at how we can connect the fastn MCP server to an MCP client like Cursor and use its AI assistant to send a message via Slack.
Step 1 - Configure Actions
- Login to fastn.
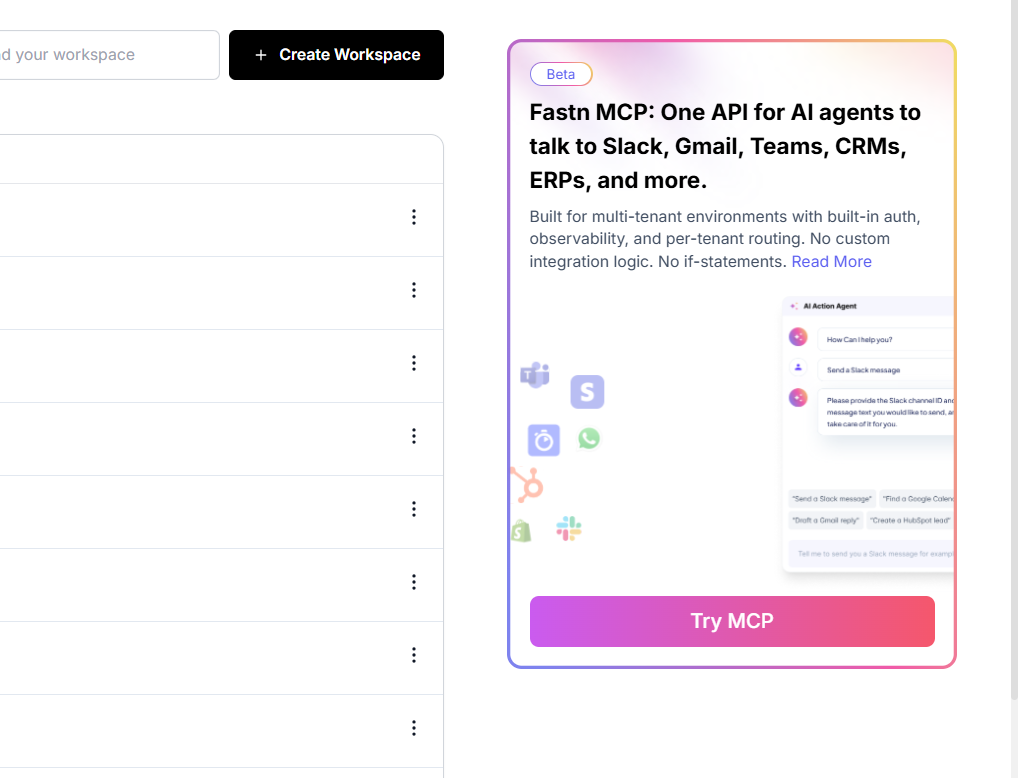
- Click on the “Try MCP” button on the on the fastn MCP banner.
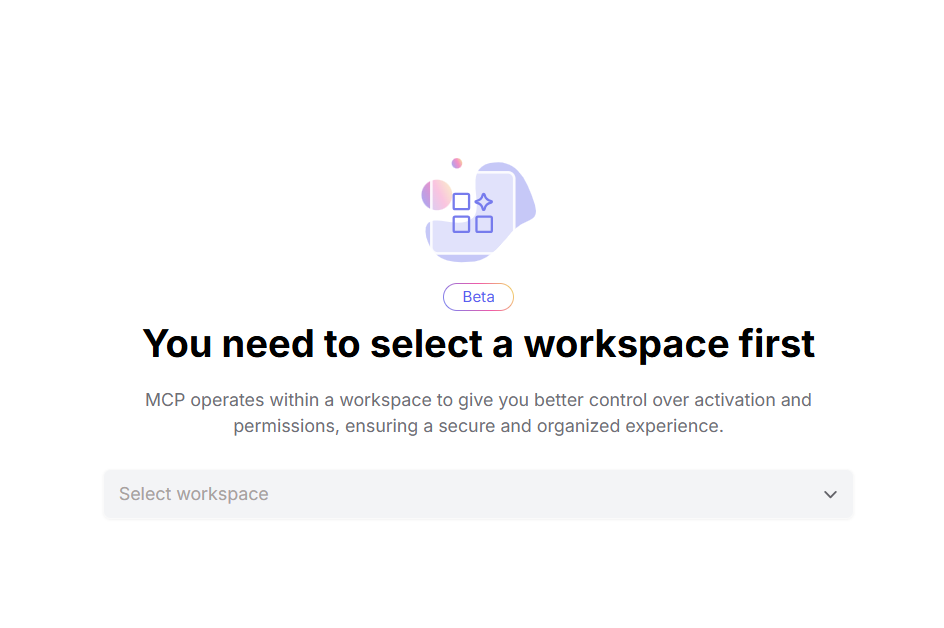
- Select a workspace.
- On the next screen, find and choose the connectors to access using your MCP client’s AI assistant.
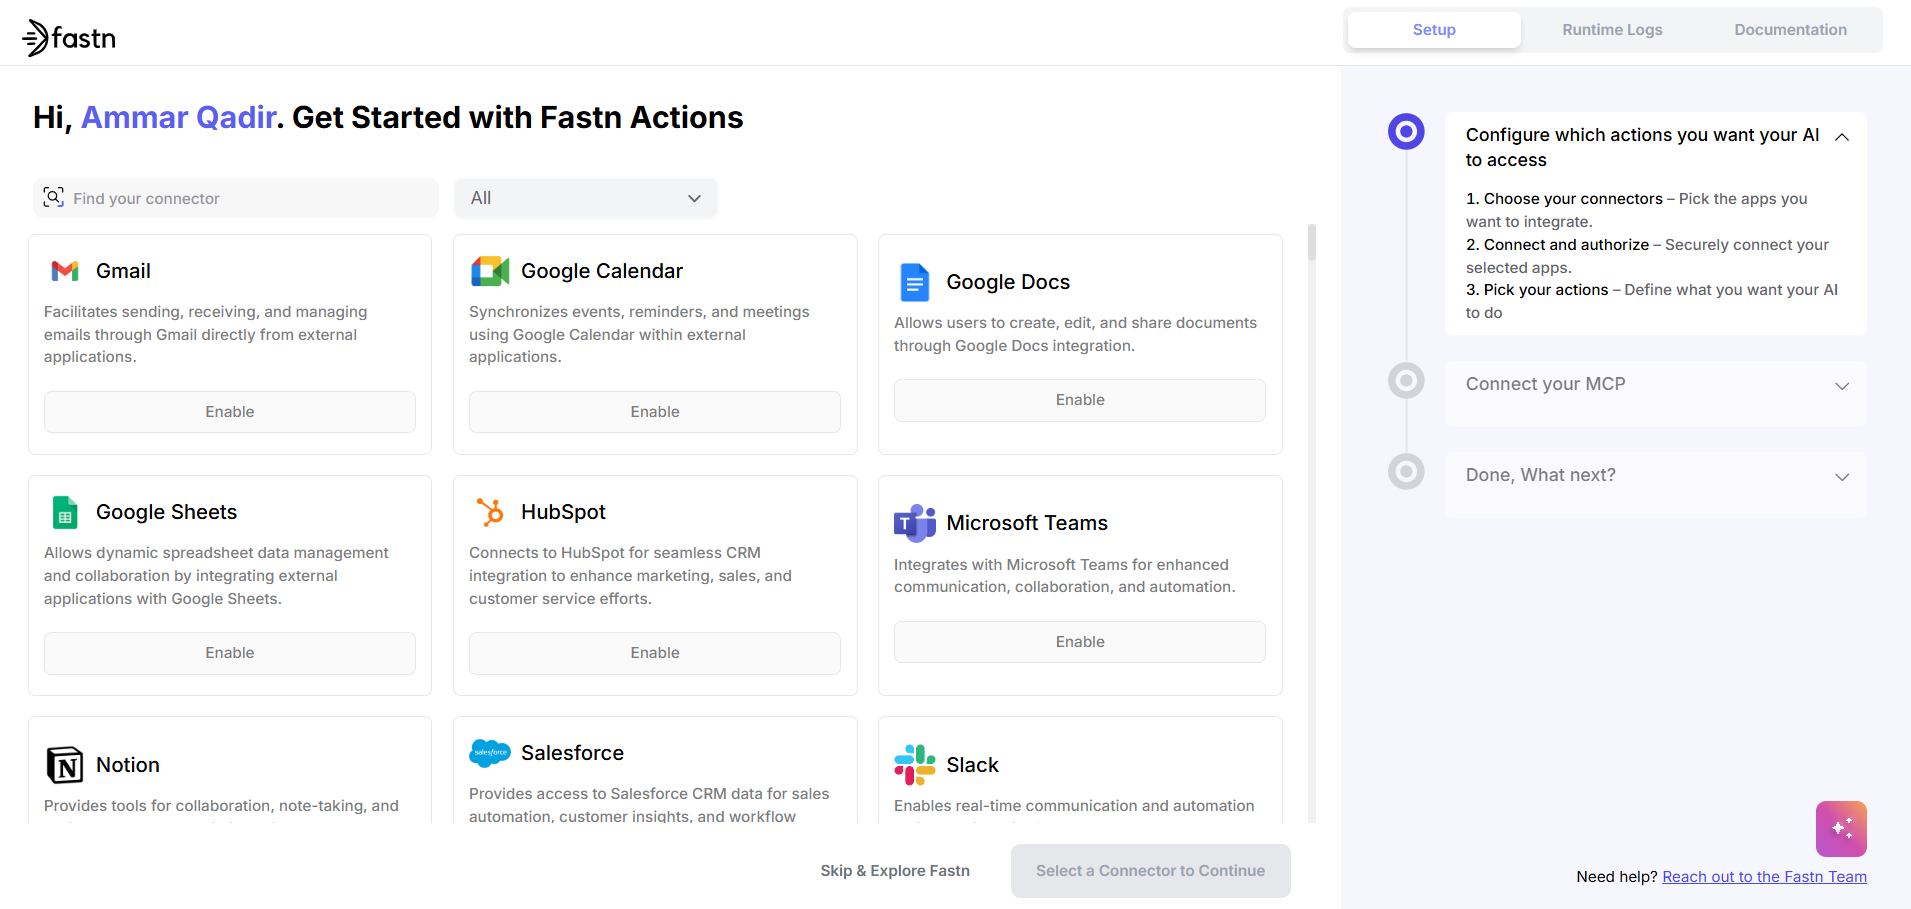
- Use the search box to find your desired connector like “Slack”.
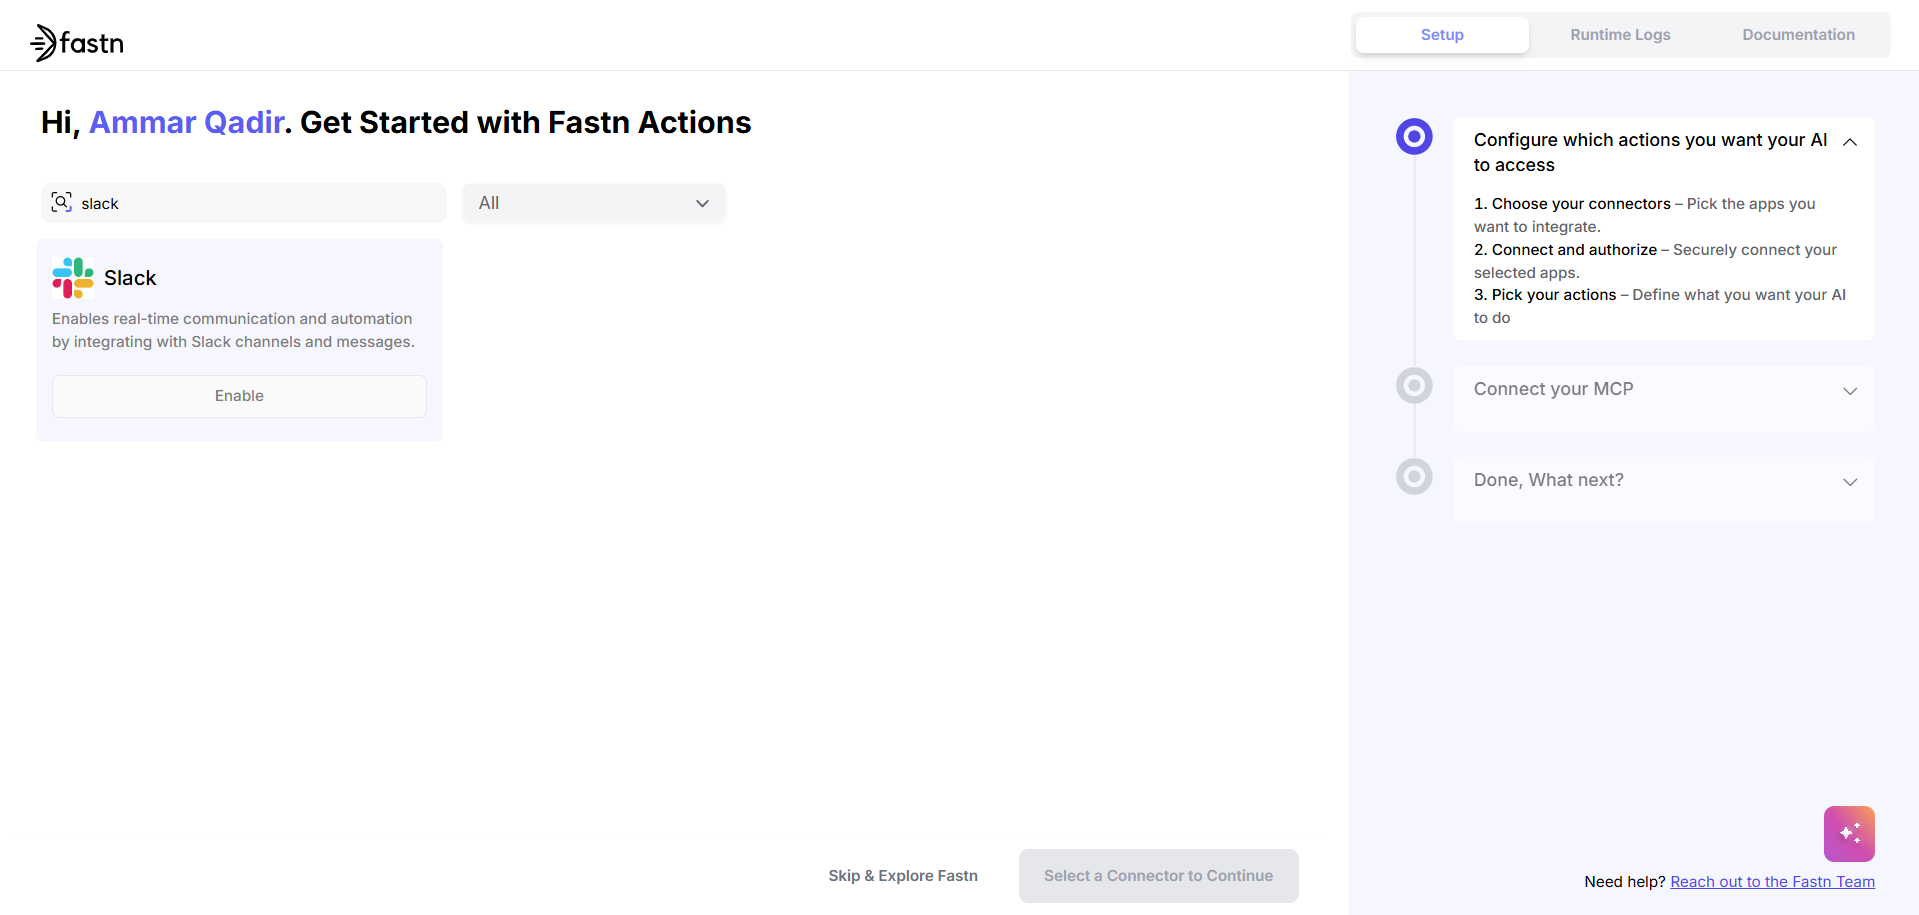
- Click on the “Enable” button to connect to Slack and pick the actions that the AI assistant will be able to access.
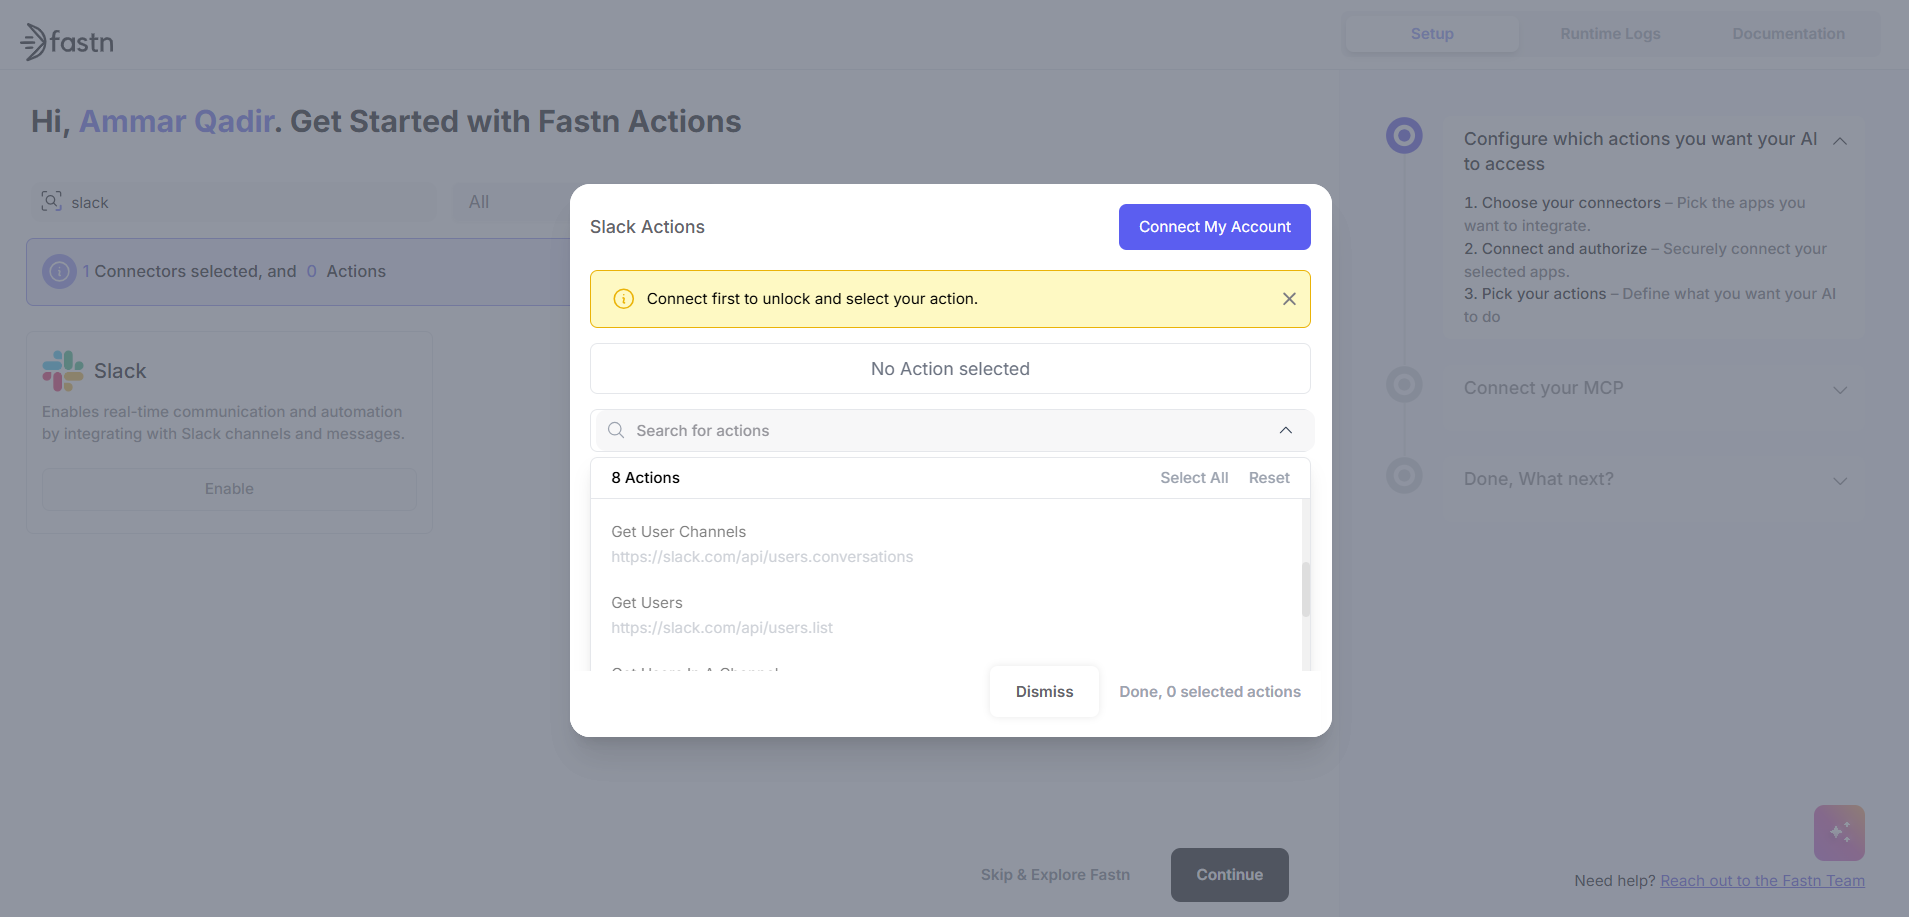
- Click on “Connect My Account” to connect to your desired Slack workspace.

- After connecting, pick an action like “Send Message”.
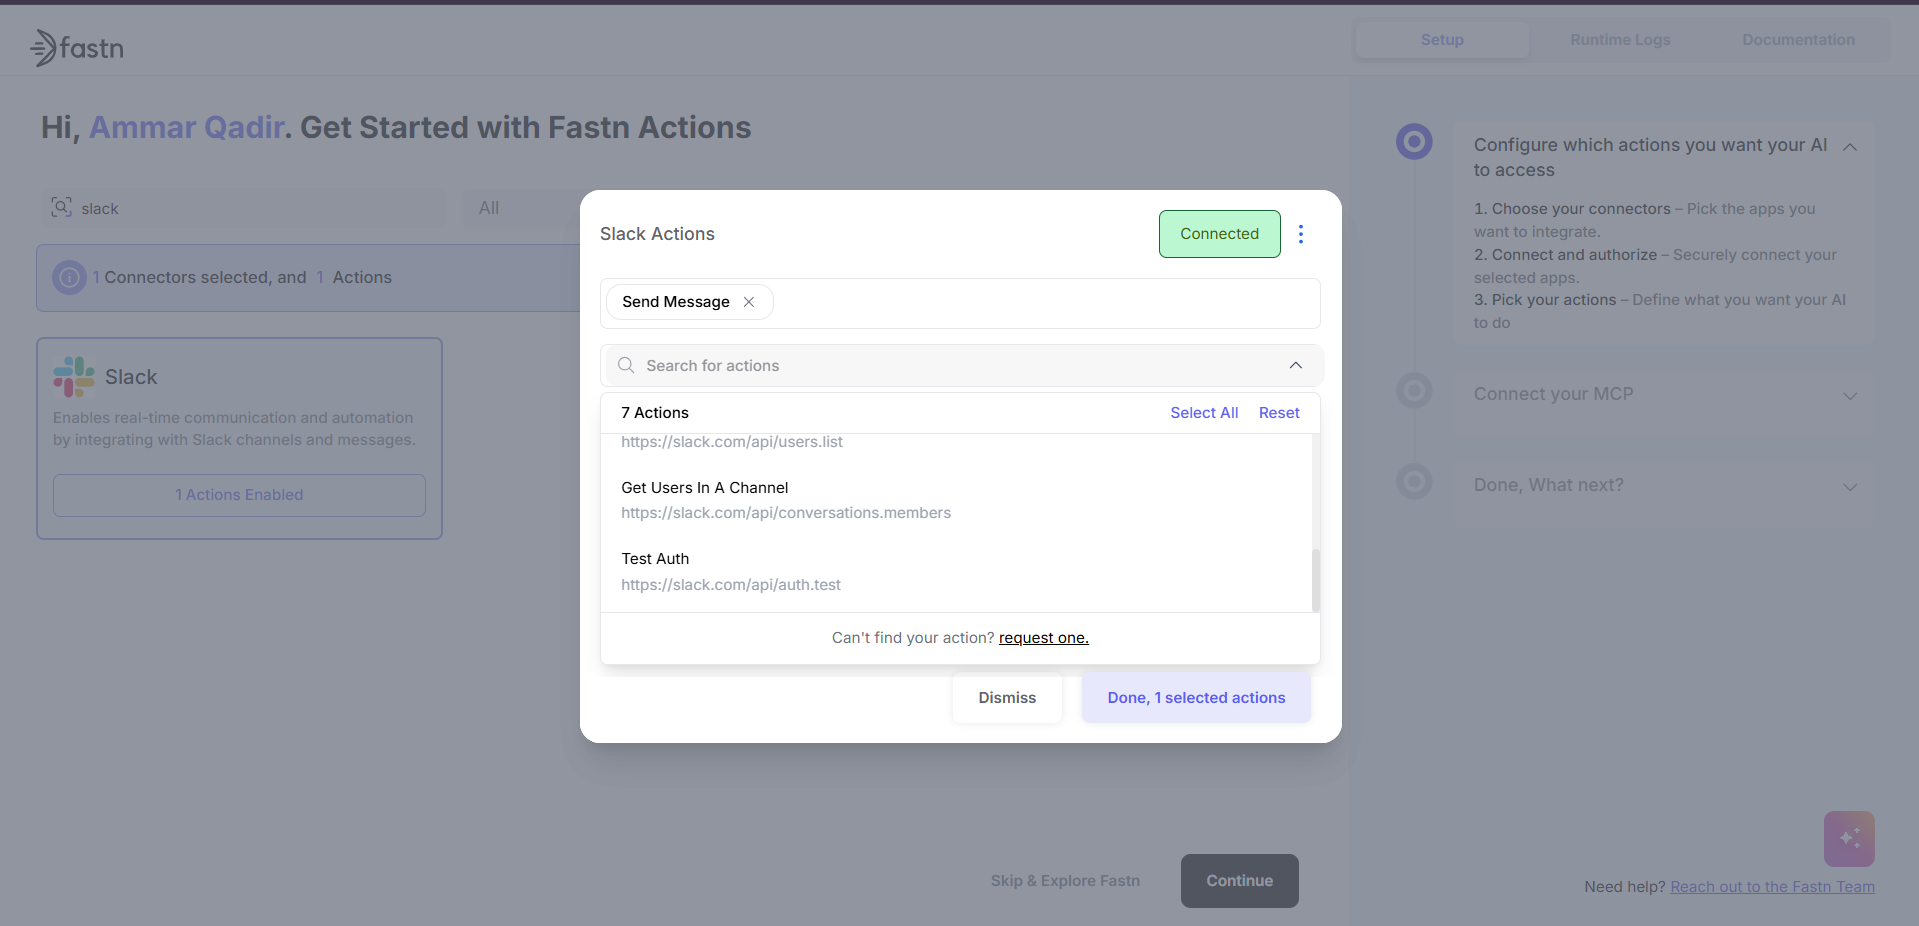
- Click on “Done” to close the action selection and then click on “Continue” to move on to the next step.
Step 2 - Connect your MCP client
Cursor
- Install Cursor on your desktop.
- Open Cursor and navigate to “Open Cursor Settings” on the top right side of the window.

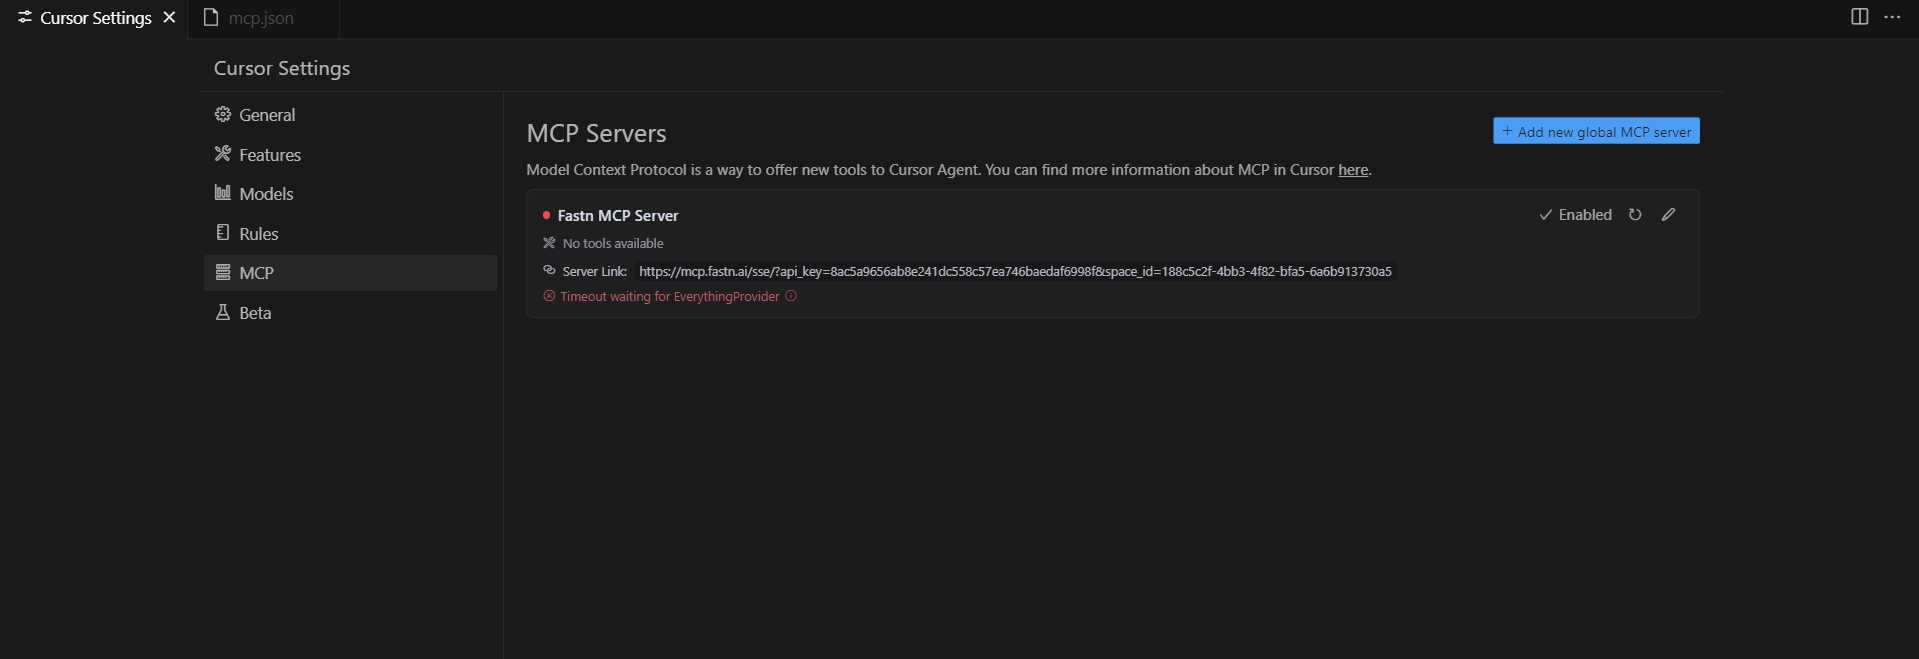
- Navigate to MCP and click on “Add a new global MCP Server”. It will open a file titled “mcp.json”.
- From fastn copy the JSON configuration for the MCP server.
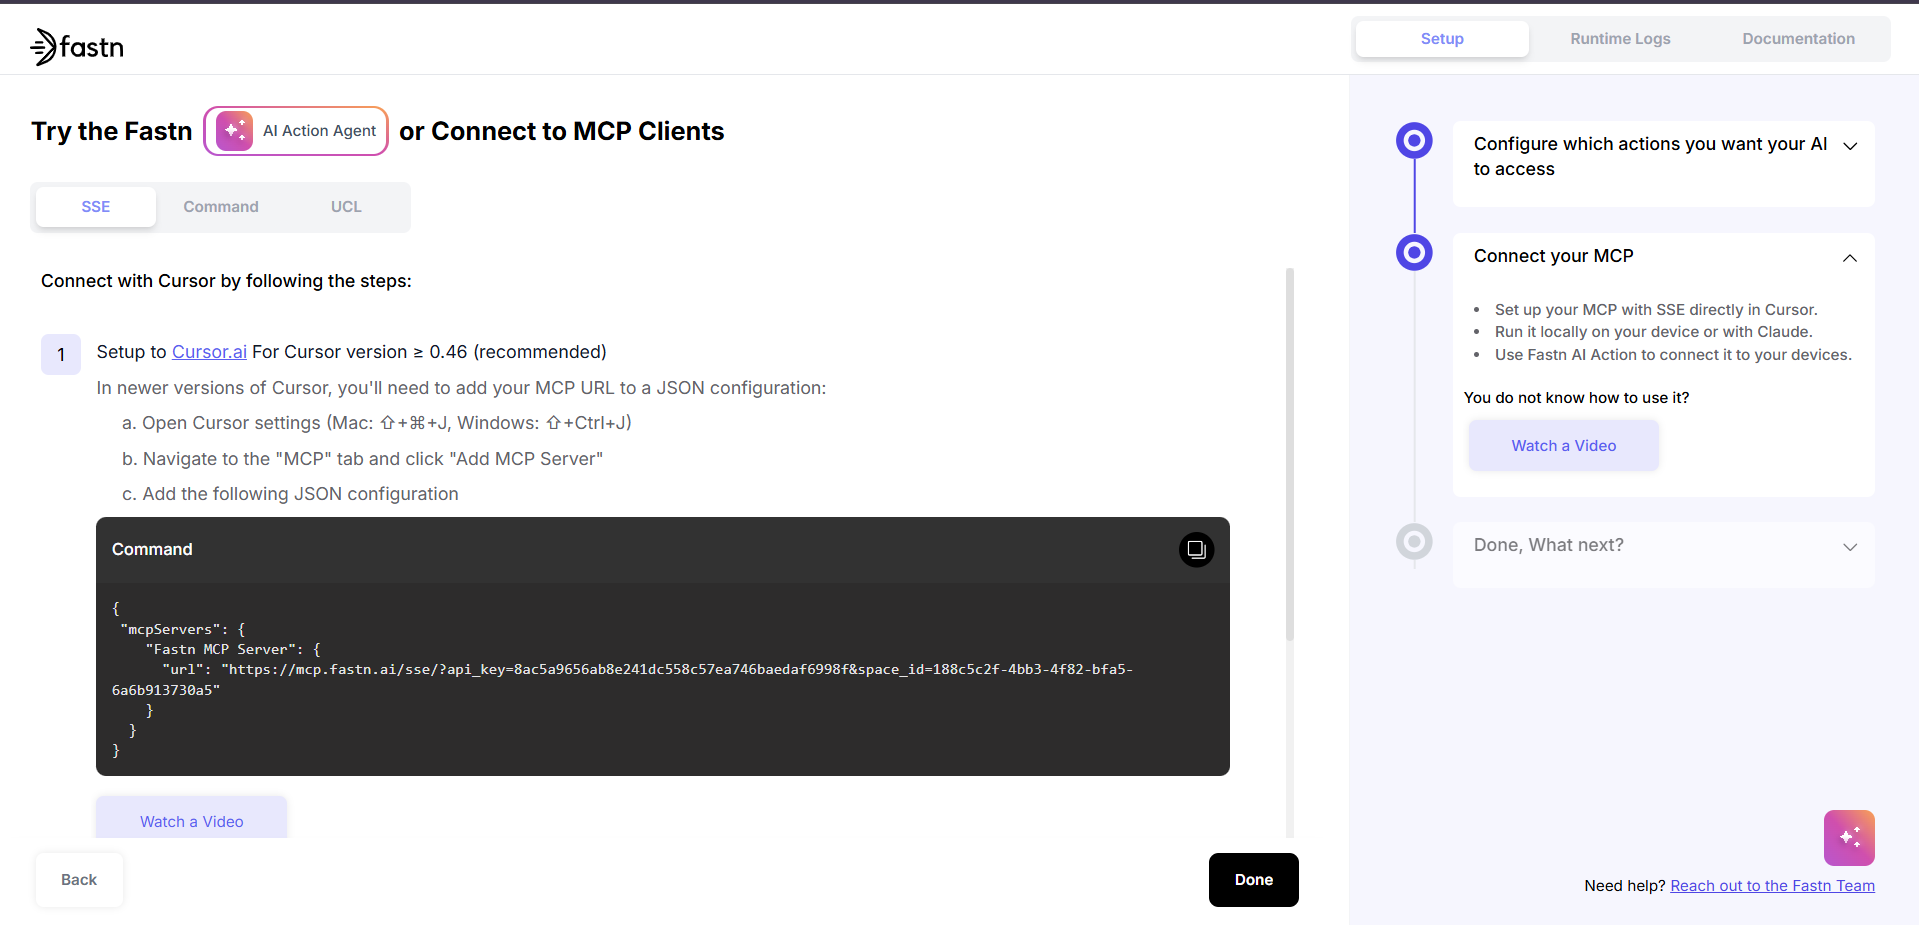
-
And paste it in the mcp.json file.
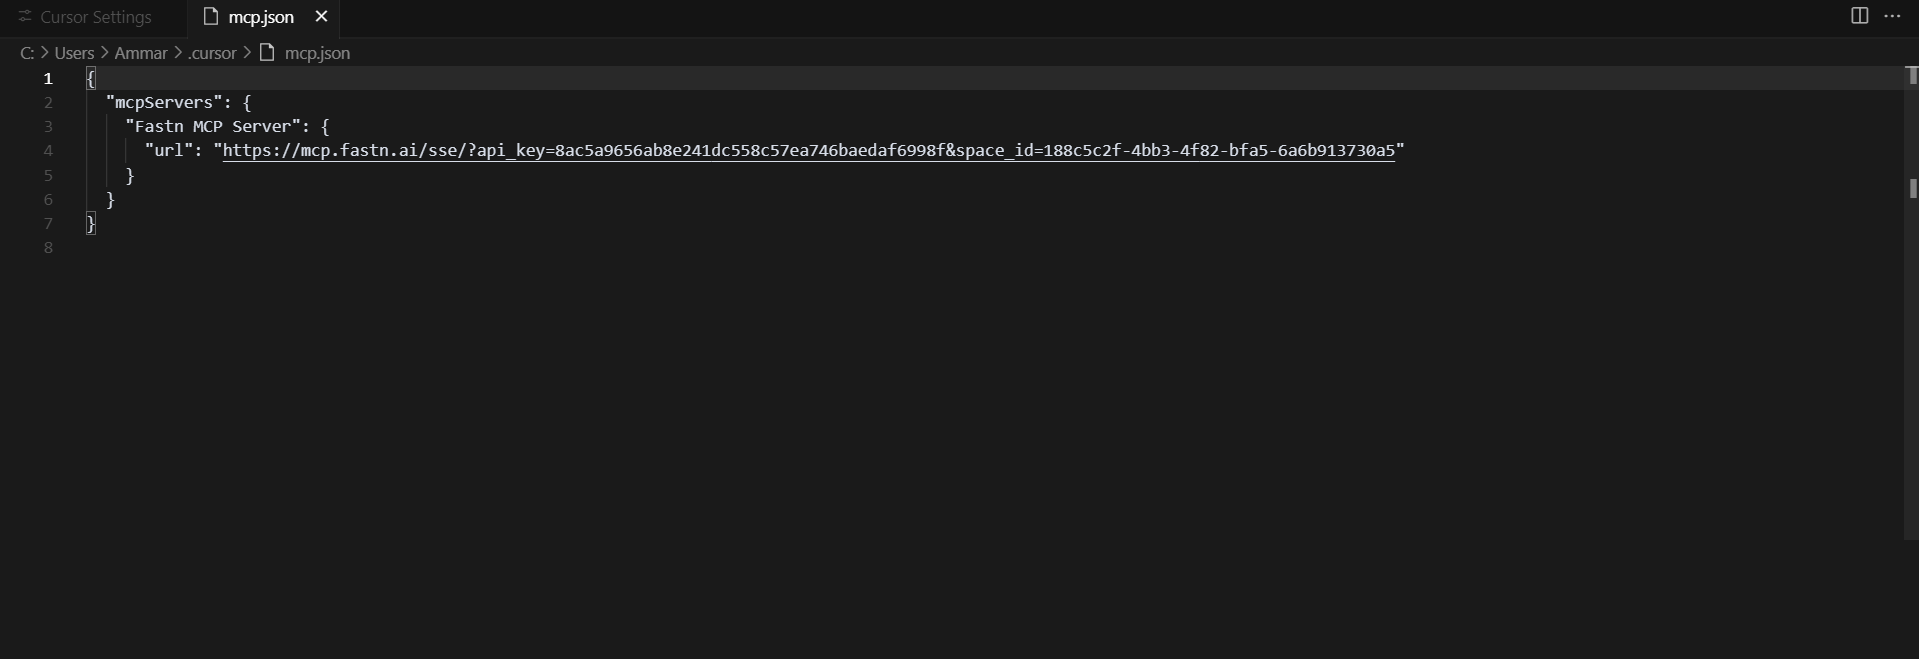
- Save the file.
- Navigate back to MCP page in Cursor settings to see the “Fastn MCP Server” enabled.

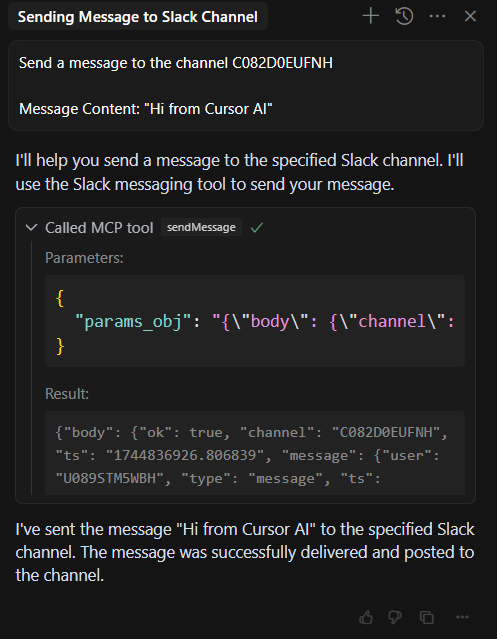
Step 3 - Sending a message to Slack
- Click on the “Toggle AI Pane” to open AI assistant chat interface.

- Write a prompt for the AI assistant to send a message to a Slack channel.
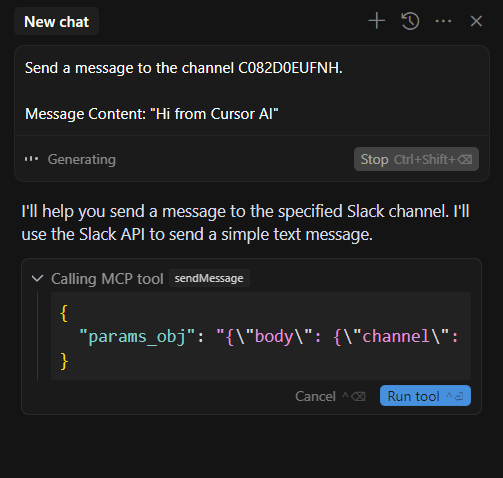
- Click on “Run tool” to send the message.