Widgets
Overview
In the fastn platform, Widgets are customizable UI elements used to interact with fastn flows that can be easily embedded into user apps.
Common applications of widgets are to authenticate users with third-party APIs such as Shopify and trigger related flows without requiring a fastn login.
Thus users of fastn can integrate widgets into their custom UI and serve them to their customers as visual tools to interact with flows built in fastn.
And with fastn's wide variety of community connectors, integrations of user apps with third-party APIs can be done in minutes.
Example Use Case
We can understand widgets better through an example use case.
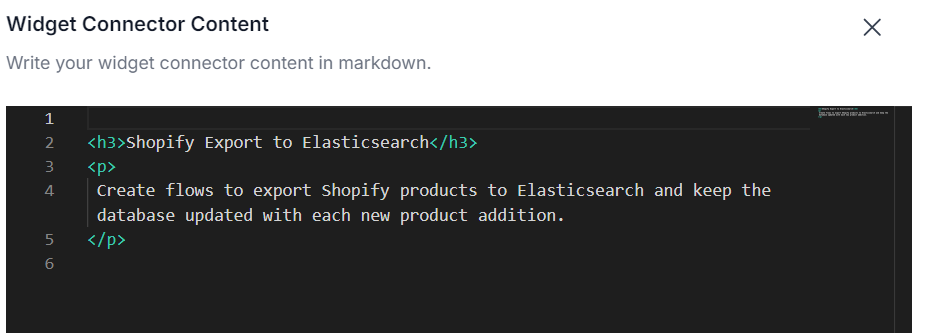
As a fastn user you can create flows to export Shopify products to Elasticsearch and keep the database updated with each new product addition.
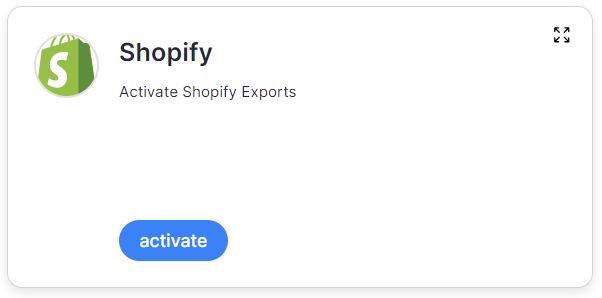
With the use of a Widget, a user can automatically enable those flows at the click of a single button.
Importing the activate flow
- On the
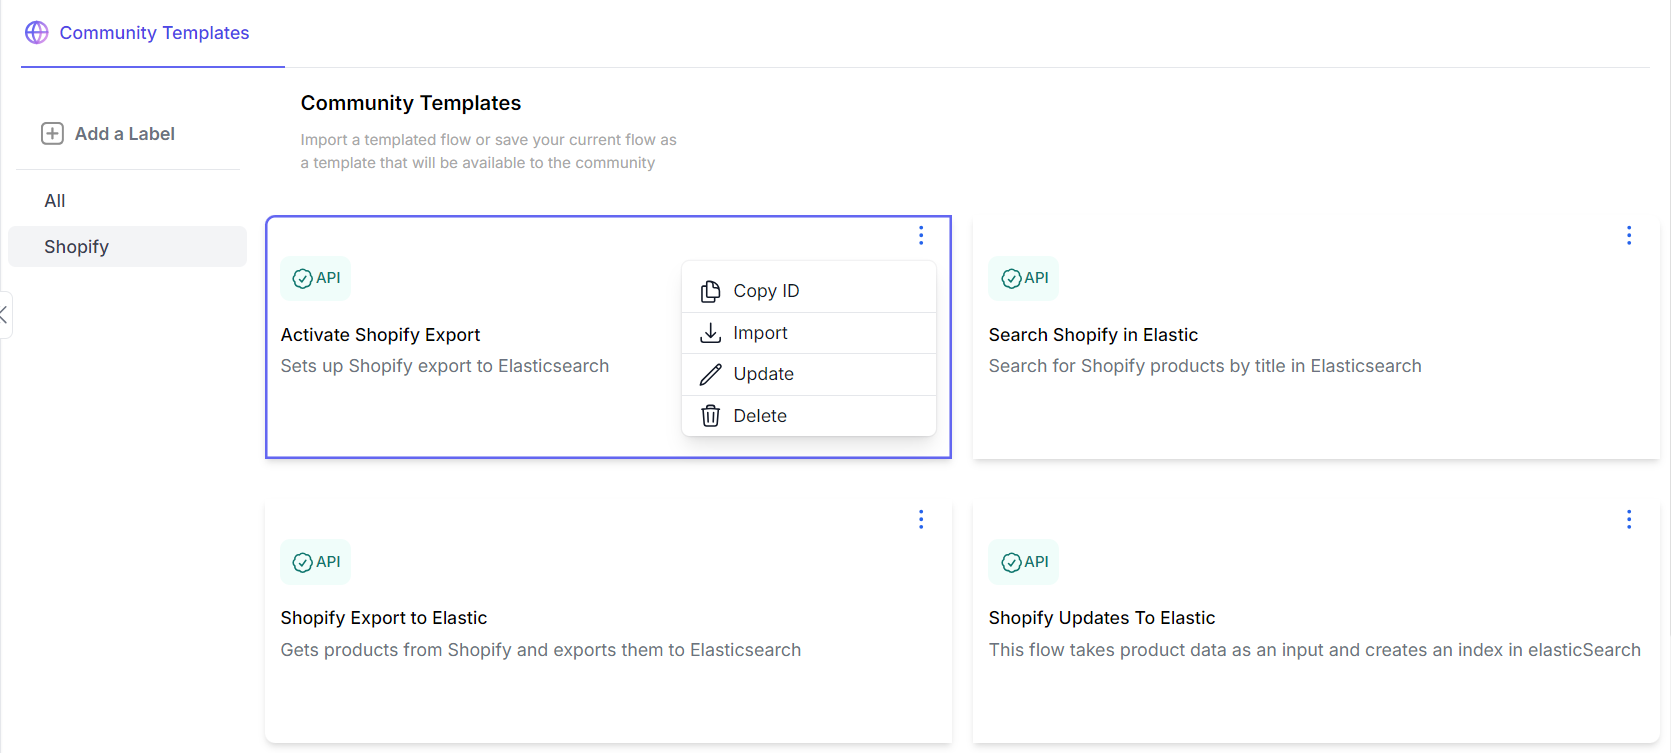
Flowspage click onTemplateson the top right. Select theCommunity Templatestab and click on the Shopify label. Click on the three dots next to theActivate Shopify Exporttemplate and import it.
-
The
Activate Shopify Exportflow will perform multiple actions. It will prep the Elasticsearch database by handling index creation and import our required flows such as the exporting Shopify products, updating Shopify products and searching for Shopify products in Elasticsearch. Additionally, it will create the required webhooks in fastn and Shopify allowing product updates to be sent. -
Once the flow is imported, it will show up on the
Flowspage. Next we are going to open the flow and update theprojectIdin theVariablesstep to match the current project id which can found in the URL as shown in the images below.

- Next we are going to deploy the flow by clicking on the
Deploybutton on the top right.
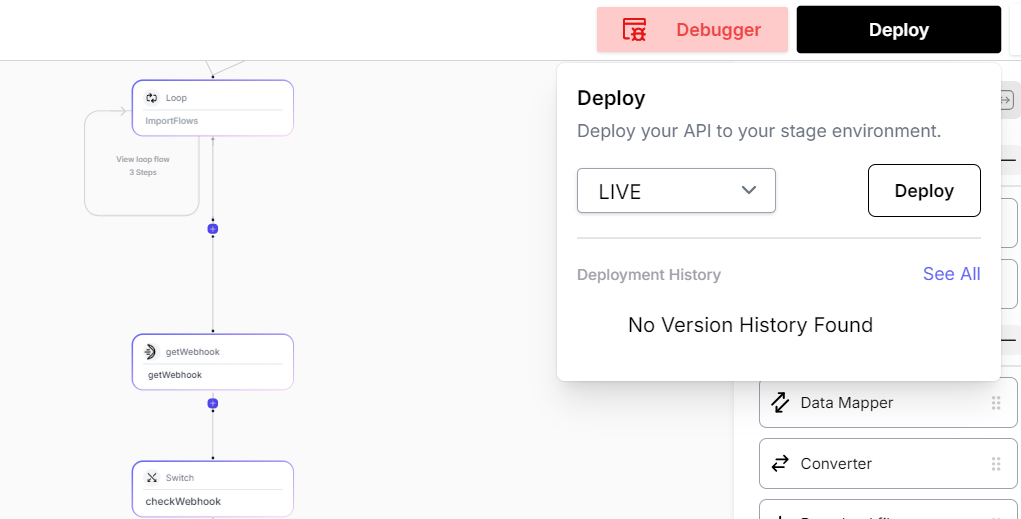
- Once the flow is deployed we are now ready to create our widget to trigger it.
Setting up the Widget
- Go to the
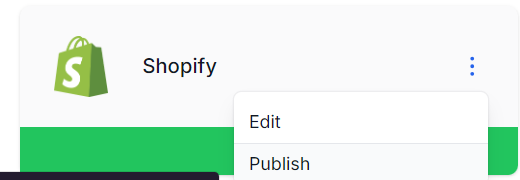
Connectorspage, and find the Shopify connector under fastn connectors. Click on the three dots to see additional options and click onPublish.
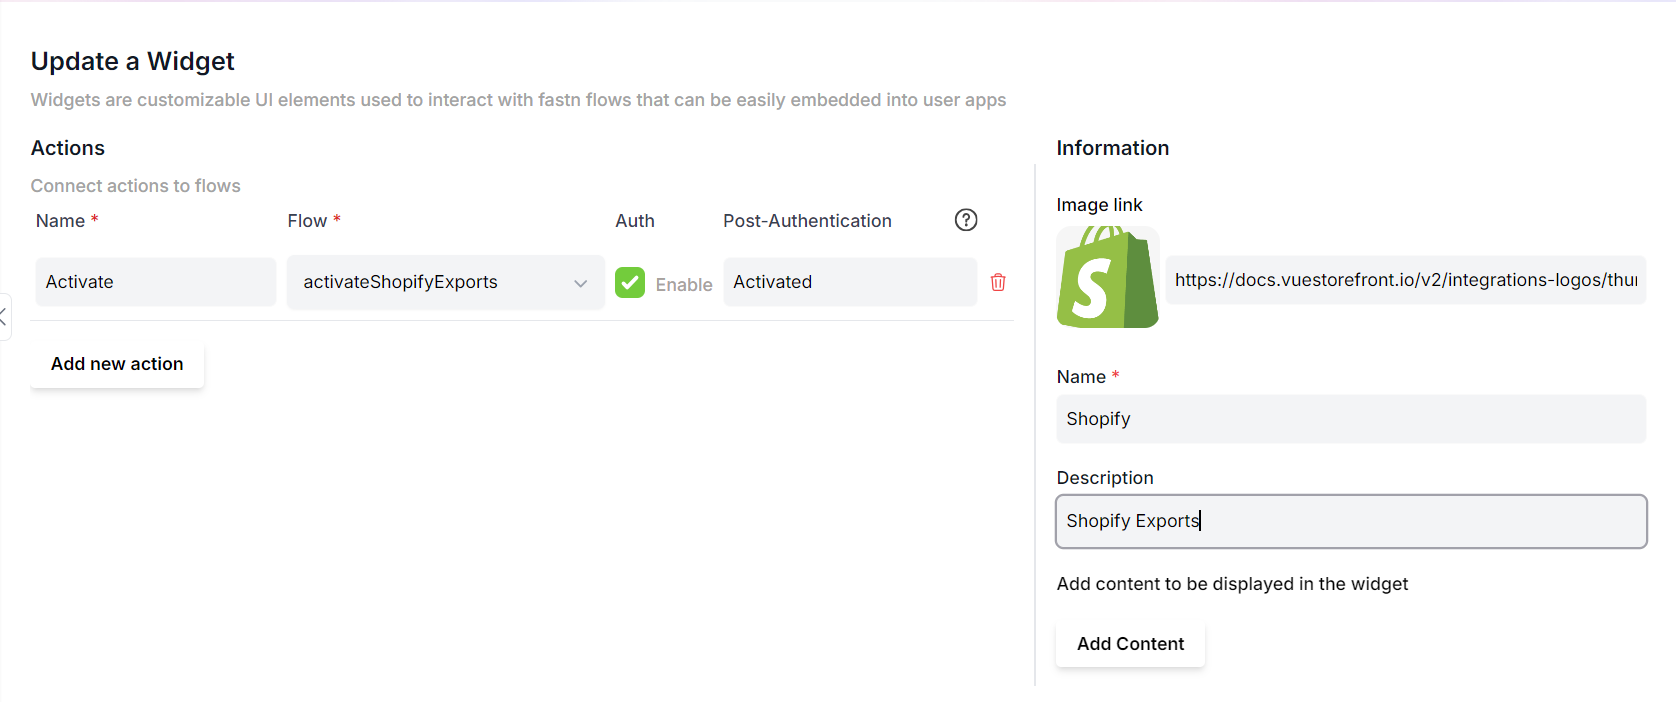
- This will open the create a widget page with Shopify's info pre-filled. Next add the
Activate Shopify Exportsflow as an activate action as shown below and update the widget.
- After the update the widget will be published. The published widget can be viewed by going to the
Widgetspage.

- Click on the
Integratebutton, generate a key and click preview to open the preview page and see the created widget.

Activating the flow
-
Clicking on the
Activatebutton will trigger the authentication of Shopify connector. Which will ask for the store name and authenticate using oauth. -
Once the authentication is successful the activate flow will be triggered.
-
This step will import the required flows, which can be seen deployed in the
Flowspage.

- A webhook with the desired configurations, will be created, that can be seen on the
Webhookspage
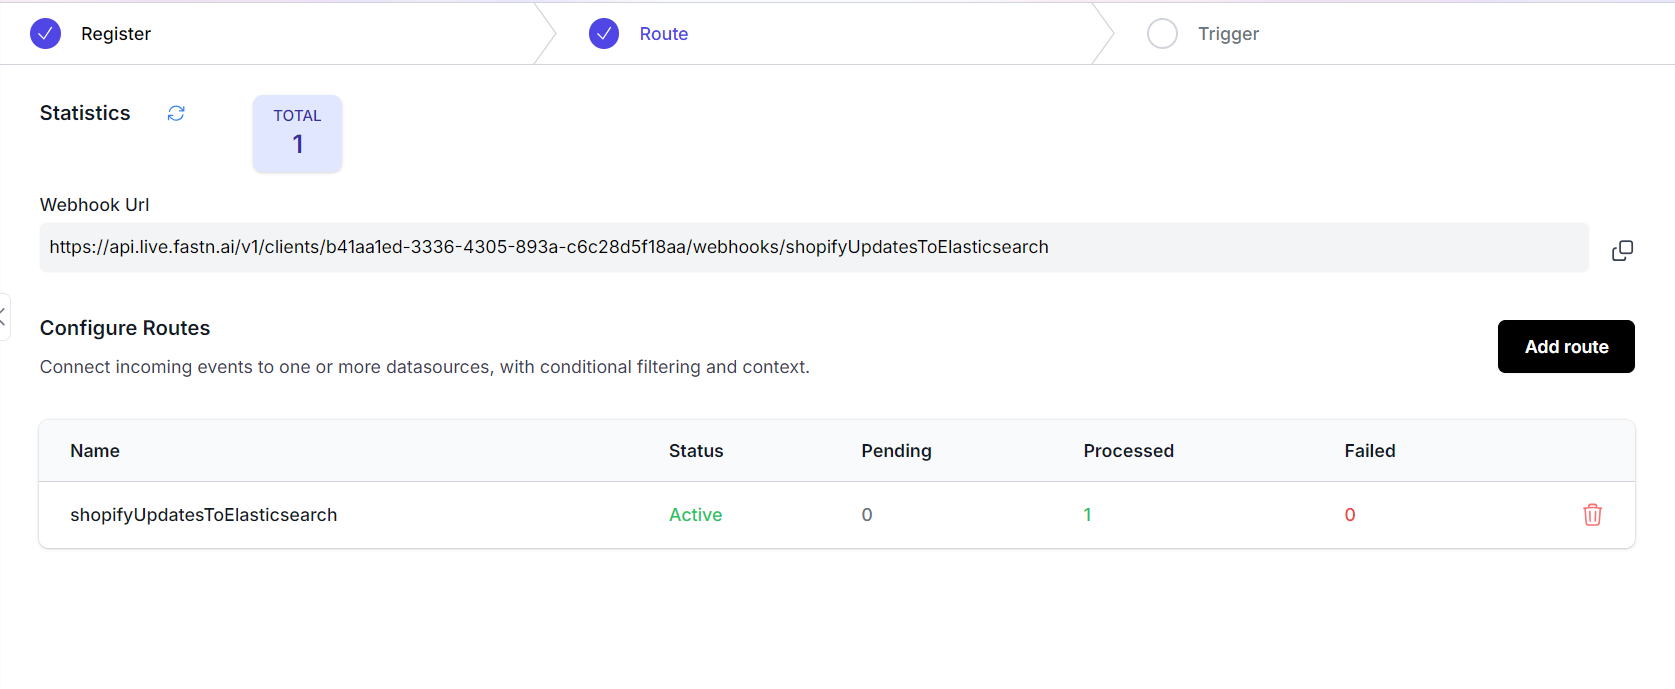
The example above demonstrates how widgets can be used to trigger multiple flows against a particular use case.
The Shopify widget can be integrated into a user's application to allow client to export data into their own Shopify accounts by using Widget to trigger authentication and connecting to their specific accounts.
Integrating Widgets
- Widgets can be integrated as scripts or iframes.
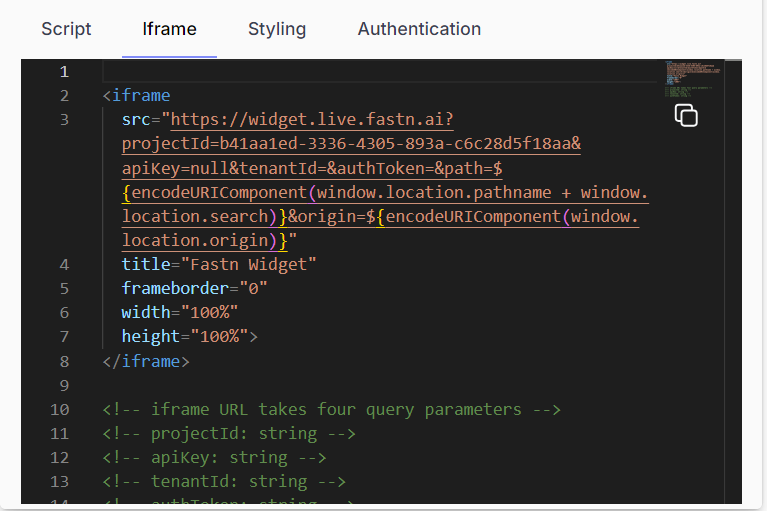
- Their styling can also be customized to suit a user's requirements.
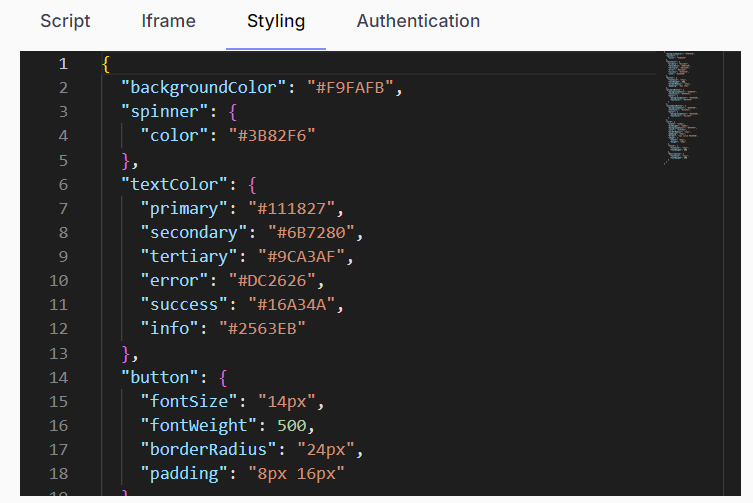
- Additional content can be added to widgets as part of pop-ups triggered when a client presses the action buttons.
